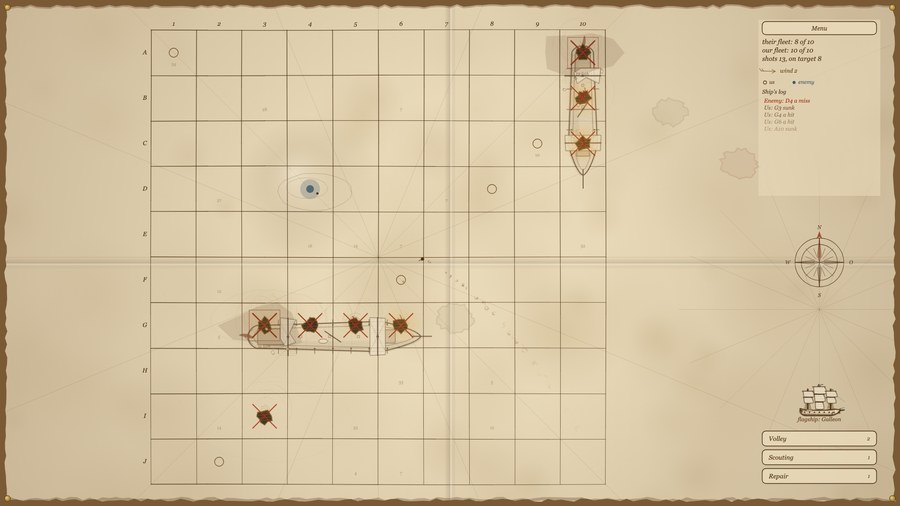
Battleship strategy: how to win more often
The habits that decide most games: a parity search, finishing every wounded ship, counting the lengths still afloat and a fleet that does not read like a pattern. Includes how our hardest bot aims.
Short answer: the best Battleship strategy is not a lucky opening, it is a routine. Search on one colour of the checkerboard, finish every ship you hit, keep a list of the lengths still in play, and place your fleet so it does not look like a pattern. That routine wins more games than any single trick.
The numbers below are for the ten-ship Russian fleet used in our Battleship: one ship of 4 squares, two of 3, three of 2 and four of 1, 20 squares out of 100. Ships may not touch, not even at the corners, and a hit gives you another shot. The classic five-ship game follows the same logic; only the sizes change.
Why a parity search beats random shots
On a 10x10 grid the fleet covers 20 squares, so a random shot hits with a 20 percent chance. A parity search gives the same average: you shoot at 50 squares of one colour, and about 10 of them hold part of a ship. The gain is not in the average, it is in the worst case.
Every ship of two squares or more lies on adjacent squares, and adjacent squares have different parity. So every such ship touches both colours, and a search of one colour cannot miss it. Random shooting can fire forty times and never touch a two-square ship, then lose the game on the last square. With a parity search, by the time you have fired at all 50 squares of one colour, every ship of two or more squares has been hit.
Random shooting also clusters around the last hit or along an edge, so half the grid stays untested. A parity pattern removes that bias: you have a list and you work through it.
| What we compare | Random shots | Parity search |
|---|---|---|
| Squares to check while hunting | 100 | 50 |
| Fleet squares among them | 20 | about 10 |
| Chance to hit per shot | 20 percent | 20 percent |
| A ship of 2+ can stay hidden | yes | no |
| When it stops helping | never, it is a lottery | when only one-square ships are left |
How to finish a wounded ship
A hit tells you something exact: the rest of the ship lies in a straight line from that square. Never shoot diagonally from a hit. Ships may not touch, so a diagonal neighbour is always water. That rule saves more shots than any intuition.
With one hit, fire at the four orthogonal neighbours. Pick the order by the longest ship still afloat: while the four-square ship is alive, try the side with three free squares in a row first. Near an edge a ship can only run inland.
With two hits in a line, the ship lies along that line. Fire at the two ends, not between the hits and not to the side: the side squares are water. If the two hits sit diagonally, they are two different ships, since a ship cannot bend. Finish the one with fewer options first.
When a ship sinks, every square that touches it is empty: the sides and the corners. A one-square ship has eight such squares, a longer ship has more, and near an edge fewer. The game does not mark them, so note them yourself. Every shot into that belt is a wasted turn, and beginners lose five or six a game this way.
| What you see | What it means | Where to shoot |
|---|---|---|
| One hit | The ship runs in one of four directions | The four neighbours, longest free side first |
| Two hits in a line | The ship lies along that line | The two ends, not the middle or the sides |
| Two hits diagonally | Two different ships | Finish each one, the one with fewer options first |
| Three hits in a line | The ship is at least three squares long | The ends, until it sinks |
| A sunk ship | Every square touching it is empty | Never shoot into the belt |
What a probability map does
Our hardest bot, the Admiral, builds a probability map. The code takes the lengths still afloat, walks every legal placement of each length and adds the length to every square the placement covers. A square where many long ships fit gets a big weight. Then even-sum squares get a 1.15 multiplier, and the bot fires at the highest weight.
On an empty 10x10 board the central square weighs 100, a corner 40 and the middle of an edge 70. That is a weight, not a count of placements: one-square ships are counted twice because the code tries both orientations. The Admiral's first shot on an empty board is D4, in the central four-by-four block, with the parity bonus.
What this means for you:
- It hunts long ships first. Weight grows with length, so the centre, where a four-square ship fits, is its favourite target.
- Against the Admiral, keep long ships near the edge. A corner weighs 40 and an edge 70, against 100 in the middle. Against a human the opposite is often true.
- It finishes wounded ships before building a new map. With two hits in a line it fires at one of the ends until the ship sinks.
- The belt around sunk ships is not in its map. The code counts placements that touch a sunk ship, so the bot can shoot at a square that is empty. That knowledge is free for you.
The endgame: one-square ships
By the late game you have two lists: what has sunk and which squares are unchecked. Count lengths, not ships. While two-square ships are afloat, the parity search still guarantees contact. Once only one-square ships remain, a single square can sit on either colour, so the pattern guarantees nothing. What decides the endgame is the belt around the ships you have found.
- Cross out the squares around every sunk ship. They are empty by the no-touch rule, and the board shrinks at once.
- If a two-square ship is out there, look for adjacent pairs outside the belts. It has nowhere else to go.
- If only one-square ships remain, every square outside the belts is equally likely. Work through them, but skip belts and squares that touch a living ship.
- A wounded ship matters more than a new search. It has one or two squares left; a new ship may have four.
Fleet placement
Placement is a mind game, and there is no perfect layout. Three mistakes come up again and again.
Everything along the edge. Humans check the edge and corners first, because ships are easy to place there. Experienced players open there.
A pattern. Ships on a diagonal, in a staircase or all in one direction become readable after two hits. A layout that looks random beats a pretty one.
A tight cluster. Ships may not touch, so each keeps an empty belt. The tighter the fleet, the less empty space is left, and the faster the opponent finds the next ship.
Against the Admiral, keep long ships away from the centre. Its map gives the centre 100 and a corner 40, and its first shot goes into the central block. A four-square ship in the middle will die first.
Spread the one-square ships out. They are not connected to the rest of the fleet and do not give away their neighbours. A line of them hands them over free.
Common mistakes
- Shooting around a sunk ship. Every square touching it is empty by the rules, not by guesswork.
- Leaving a wounded ship. One good shot gave you information and a free turn, and you walk away to hunt open water.
- Forgetting which length can still fit. Three hits in a line cannot be a two-square ship. If the four-square ship is down, a line of three is a three-square ship, and the square at each end needs no check.
- Shooting diagonally from a hit. Always water.
- Not counting the sunk fleet. Without that list the endgame is guesswork.
- Wasting the free shot. In our game a hit gives another turn, and spending it elsewhere is a bad trade.
Online play and the campaign
Online follows the same rules, with one difference: the fleet is dealt by lot, so placement is not your choice.
You can ask for a random opponent or invite a friend: the game gives you a six-character code, and your friend enters it. If no random opponent is found, a bot takes the seat. If the connection drops, the game returns you to the same battle.
The campaign is five battles on a growing board: 8, 8, 10, 10 and 12 squares. The weather changes (clear, fog, clear, storm, fog) and the opponent gets stronger: the easy bot, then the middling one, then the Admiral. Wins pay trophies, and trophies buy supplies.
- Salvo. Three squares in a row in one shot. The turn passes to the opponent even if all three hit, so fire it along a line where you already have a hit.
- Scout. Reveals a three-by-three square and does not cost a turn. Use it when you do not know where to search.
- Repair. Patches one hit square on your own ship. Save it for a long ship.
In a storm a shot drifts to a neighbouring square with a 0.22 chance. Treat it as one more roll on top of your plan: do not count on a long finishing streak in rough weather.
When strategy stops helping
Honestly: strategy reduces random losses, it does not remove luck. Online the fleet is dealt by lot, so placement is out of your hands. In a storm the shot drifts. An opponent can open your four-square ship with three lucky shots, and no map will undo that.
Play so that a lost game was not lost for nothing. A tested board, counted lengths and an empty belt around every sunk ship stay with you whatever the dice do.
Checklist before a game
- Open with a parity search, in order, not in clusters.
- Hit: finish it at once, at the ends of the line, never diagonally.
- Sunk: mark the belt around the ship and never shoot there again.
- Keep a list of lengths: what is down and what can still fit.
- Only one-square ships left: check every square outside the belts, the parity search guarantees nothing.
- Placement: long ships away from the centre against the Admiral, not everything on the edge against a human, no patterns.
- In the campaign: the scout is free, the salvo costs your turn, save the repair for a long ship.
If you want the rules first, they are broken down step by step in the Battleship rules. For a game at one table there is Battleship on paper with a printable sheet. More ideas for two players are collected in what to play with a friend.